snippy-ng gui
![]()
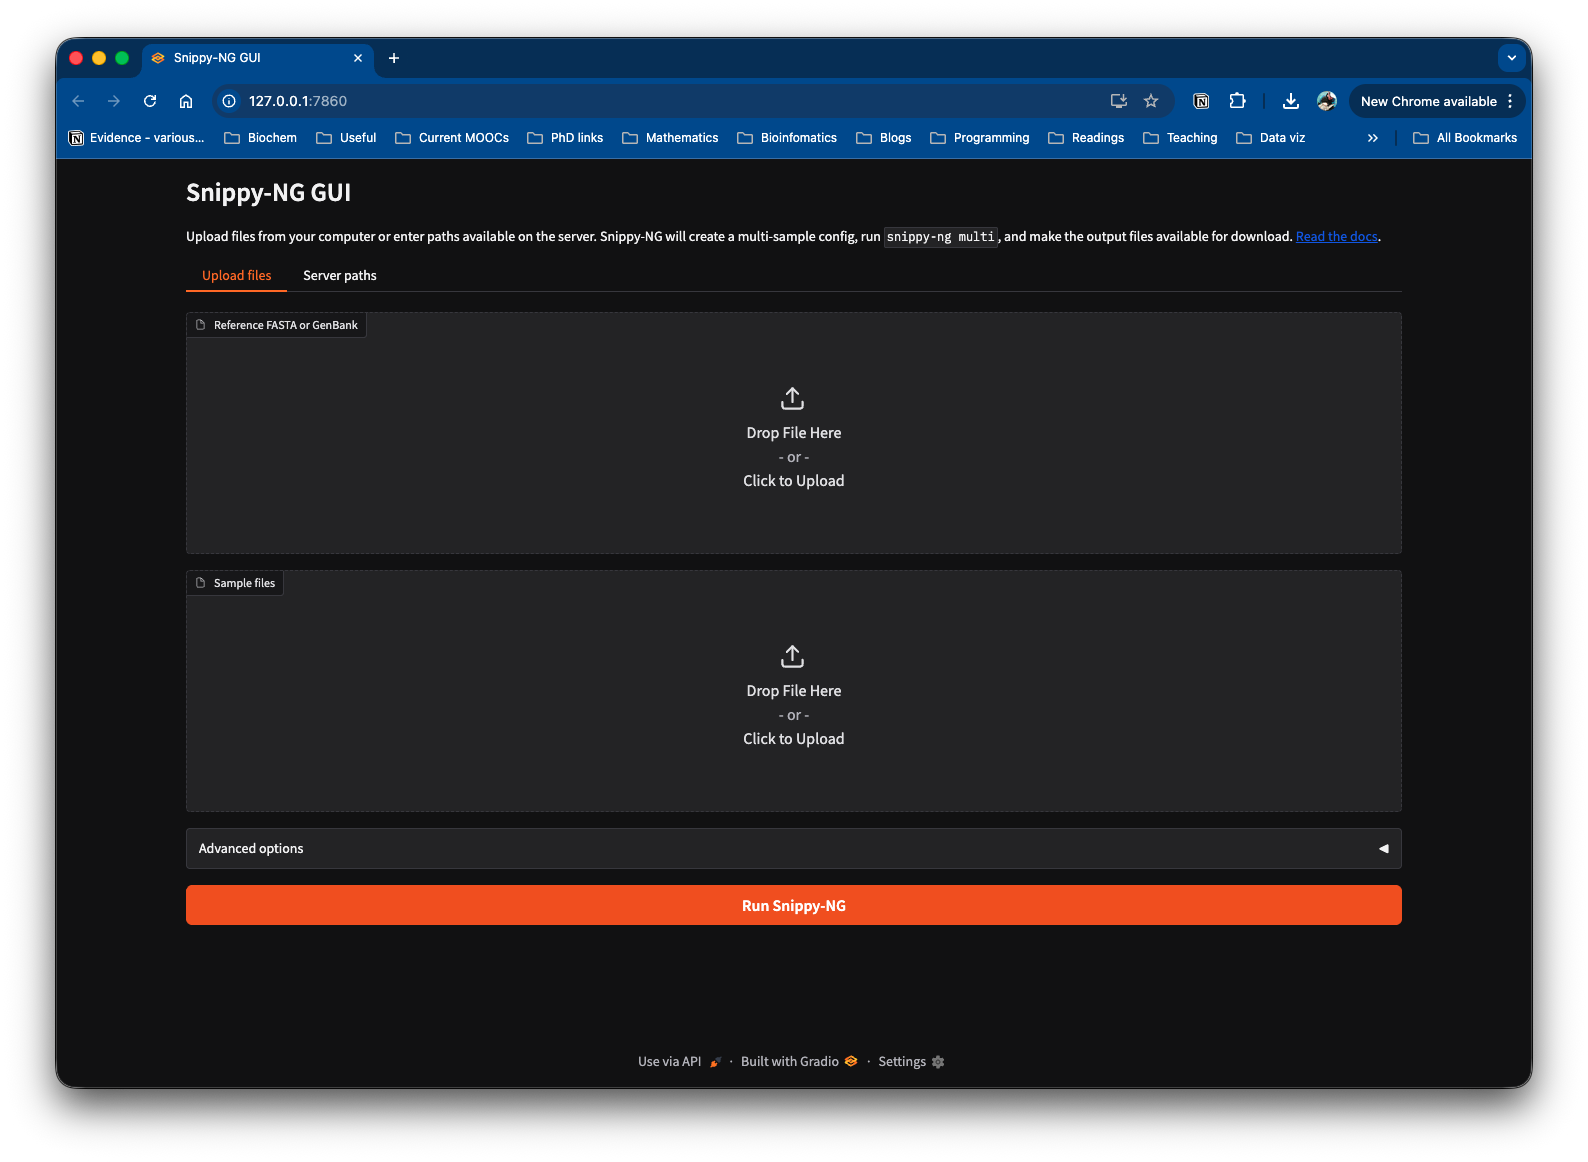
Launch the optional Gradio graphical interface for running snippy-ng multi
from a browser.
The GUI accepts a reference genome and sample files, creates a multi-sample configuration, runs the multi-sample pipeline, and provides output files for download.
Install
The GUI depends on Gradio, which is optional. Install Snippy-NG with the GUI extra:
Or add Gradio to an existing Snippy-NG environment:
Quick Start
Run the GUI locally:
By default this starts a server on 127.0.0.1:7860 and opens the interface in
your browser.
Use a different host or port:
Do not open a browser automatically:
Public Hosting
If you are hosting the GUI for other users, you should usually run it with both
--temp-output and --no-server-paths:
--temp-output writes each GUI run under the Gradio/system temporary directory
instead of the current working directory. This avoids filling the launch
directory with user run outputs.
--no-server-paths hides the server-side path inputs and allows uploads only.
This prevents users from entering arbitrary paths on the host running the GUI.
You can also ask Gradio to create a public share link:
Only use --share when you are comfortable exposing the running GUI through
Gradio's sharing service.
Inputs
By default the GUI supports two input modes:
- Upload files from your computer.
- Enter paths that already exist on the server.
Use --no-server-paths to disable server path entry:
This is the safer mode for public or shared deployments.
Outputs
After a run completes, the GUI shows the output directory and a file browser for downloading individual output files.
The GUI also includes a button to create a .tar.gz archive of the output
directory on demand. The archive is created in a temporary directory when the
button is clicked, not during the pipeline run.
By default, run output directories are created under the current working
directory. Use --temp-output to place them under the Gradio/system temporary
directory instead:
Resource Limits
Use --max-cpus to cap the highest CPU value available in the GUI:
This is useful on shared machines where you do not want GUI users to request all available cores.
Command Options
| Option | Default | Purpose |
|---|---|---|
--host |
127.0.0.1 |
Host interface for the GUI server. |
--port |
7860 |
Port for the GUI server. |
--share |
disabled | Create a public Gradio share link. |
--no-browser |
disabled | Do not open the GUI in a browser. |
--temp-output |
disabled | Write GUI run outputs under the Gradio/system temp directory. |
--max-cpus |
detected CPUs | Maximum CPU value allowed in the GUI. |
--no-server-paths |
disabled | Hide server-side path inputs and allow uploads only. |